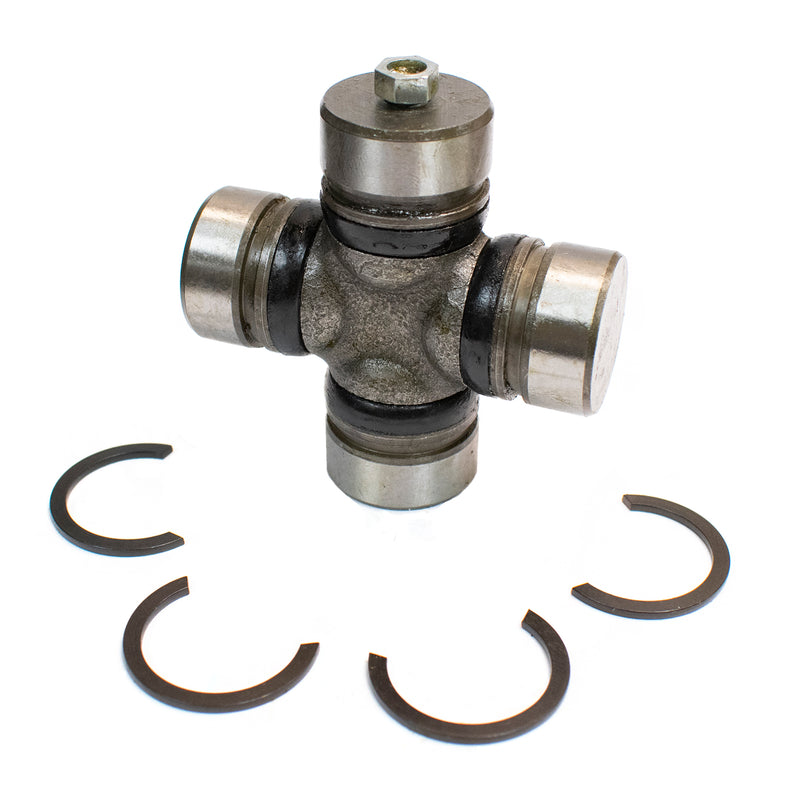
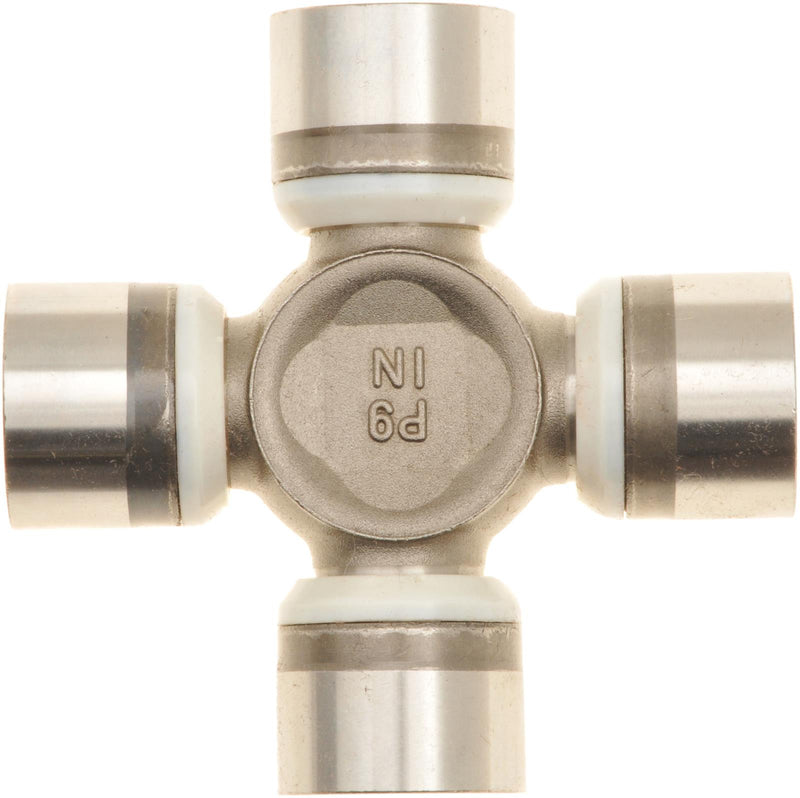
Rockford 430-9B U-Joint "Staked In"
Vendor: Rockford, Sku: 430-9B


DETAILS
| OEM Series: | Staked-In Replacement |
| Manufacturer: | Rockford |
| Greasable: | Greasable |
| Snap Ring Type: | Inside Snap Ring |
| Manufacturer Part Number: | 430-9B |
| Bearing Cap Diameter: | 0.791" |
| Lock Up: | 1.335" |
| OEM/Alternate Part Number: |
Related Products

Rockford 430-12 U-Joint "Staked In"
$38.55
Rockford Drive Shaft Universal Joint 430-12- Speciality “STAKED-IN” Replacement U-Joint Notes Specs Vehicle Fit Install This u-joint replaces the OEM ‘staked in’ u-joint found on select vehicles. See vehicle fitment section for the list of applicable vehicles. The u-joint converts from the OEM staked u-joint to an inside C-clip u-joint ...


AMI M8-1.25 X 35MM Bolt Kit (Qty. 4)
$10.66
Driveshaft Bolt Kit Product Description Length: 35mm Thread: M8-1.25 Quantity: 4 Material: Steel Head Type: 12-Point Size: M8-1.25X35MM VMRS: 053-007-005 Product Fitment Ram 2500/3500 Serrated front flange bolts. Compatible Parts: AAM 40019801 Flange YokeAAM 40038359 Flange YokePTI 3R02-291 Flange YokePTI 3502-291 Flange Y...
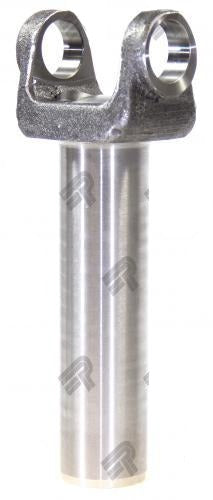
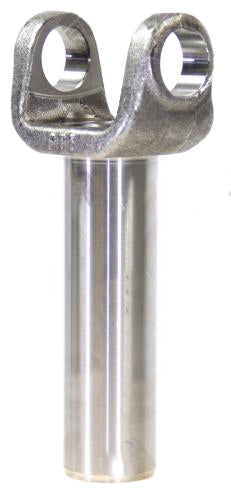
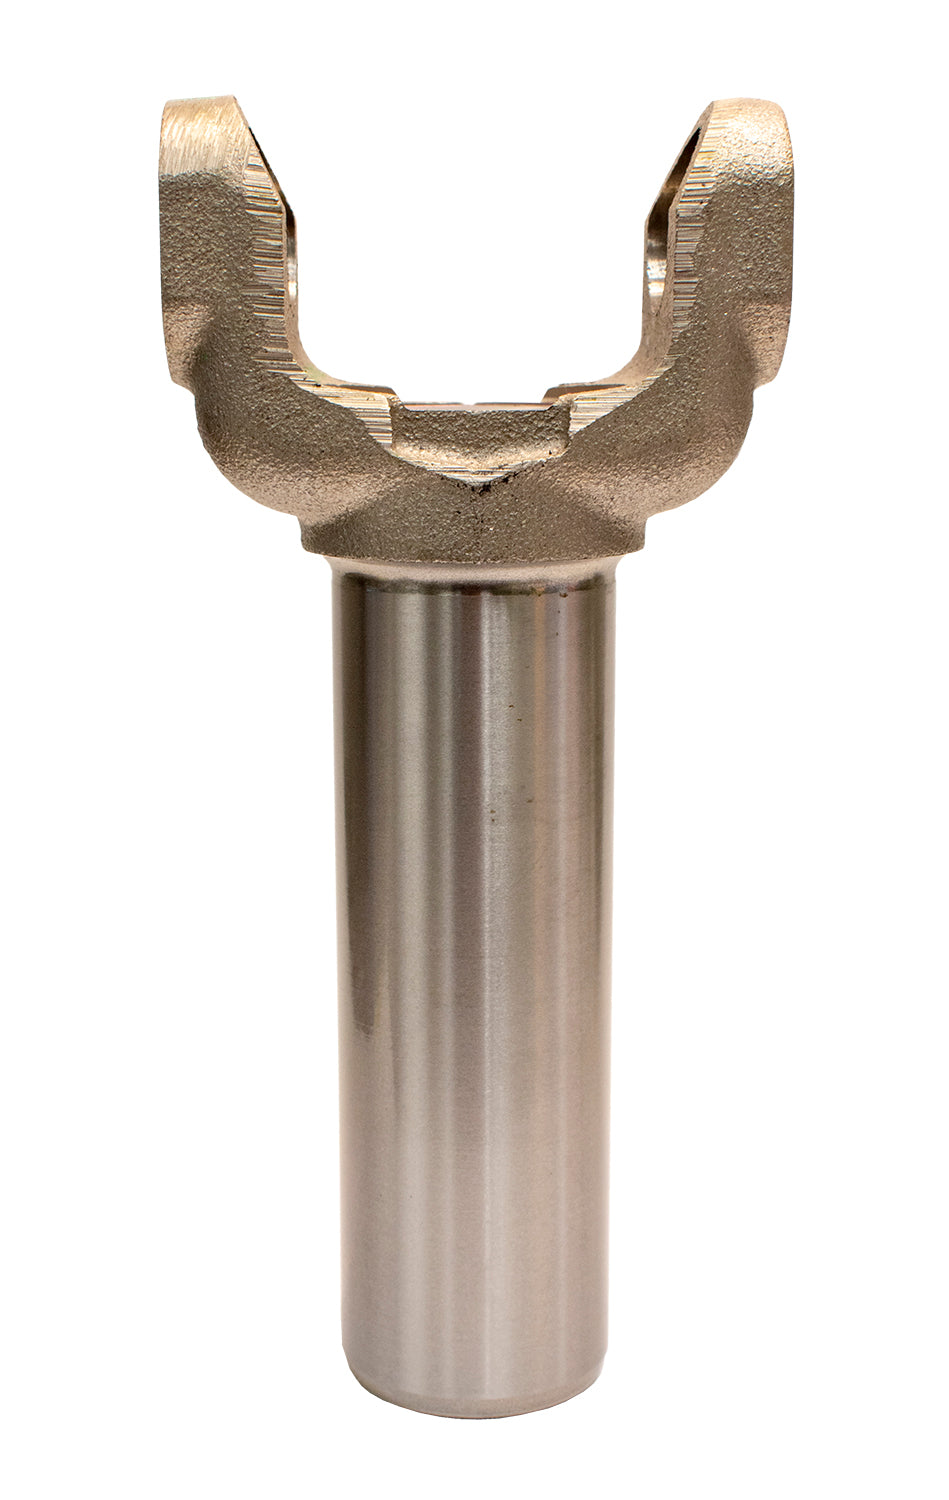
PTI 2603-30 Trans Slip Yoke

PTI 2603-30 Trans Slip Yoke
$60.50
PTI Drive Shaft Transmission Slip Yoke Product Specs Description Diagrams Transmission & Transfer Case Applications: Fits various Chrysler, Dodge and Ram transmission with 30 spline output shafts including 45RFE, 46RH, 47RE, 47RH, 48RE, 48DG8, 545RFE, 545DGQ, 65RFE, A500, A518, A727, A833 and more. U-Joint Series: 7260 ...
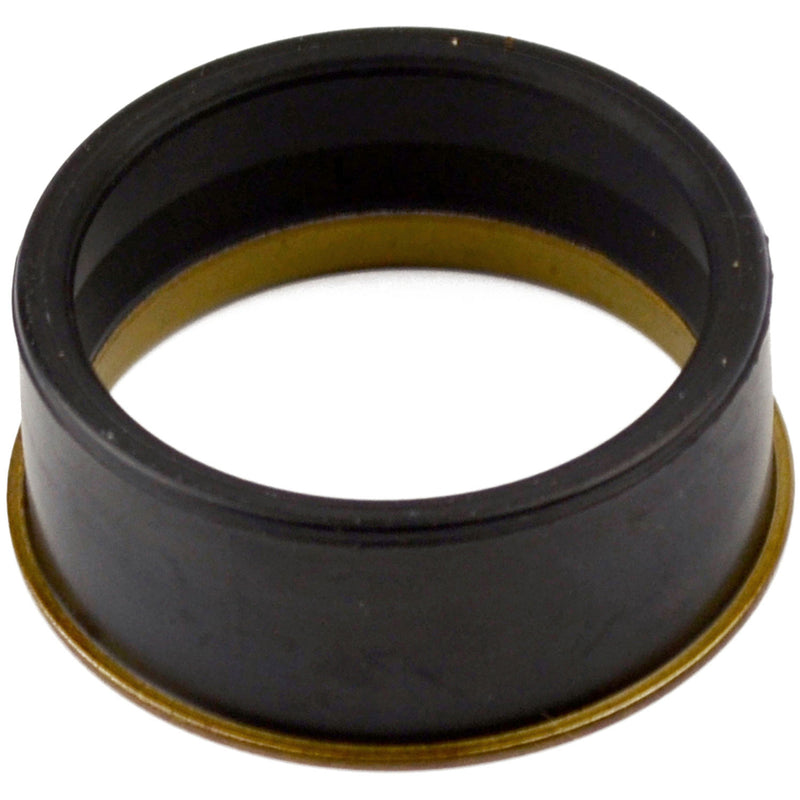
Spicer 2-86-418 Double Cardan CV Ball Seal
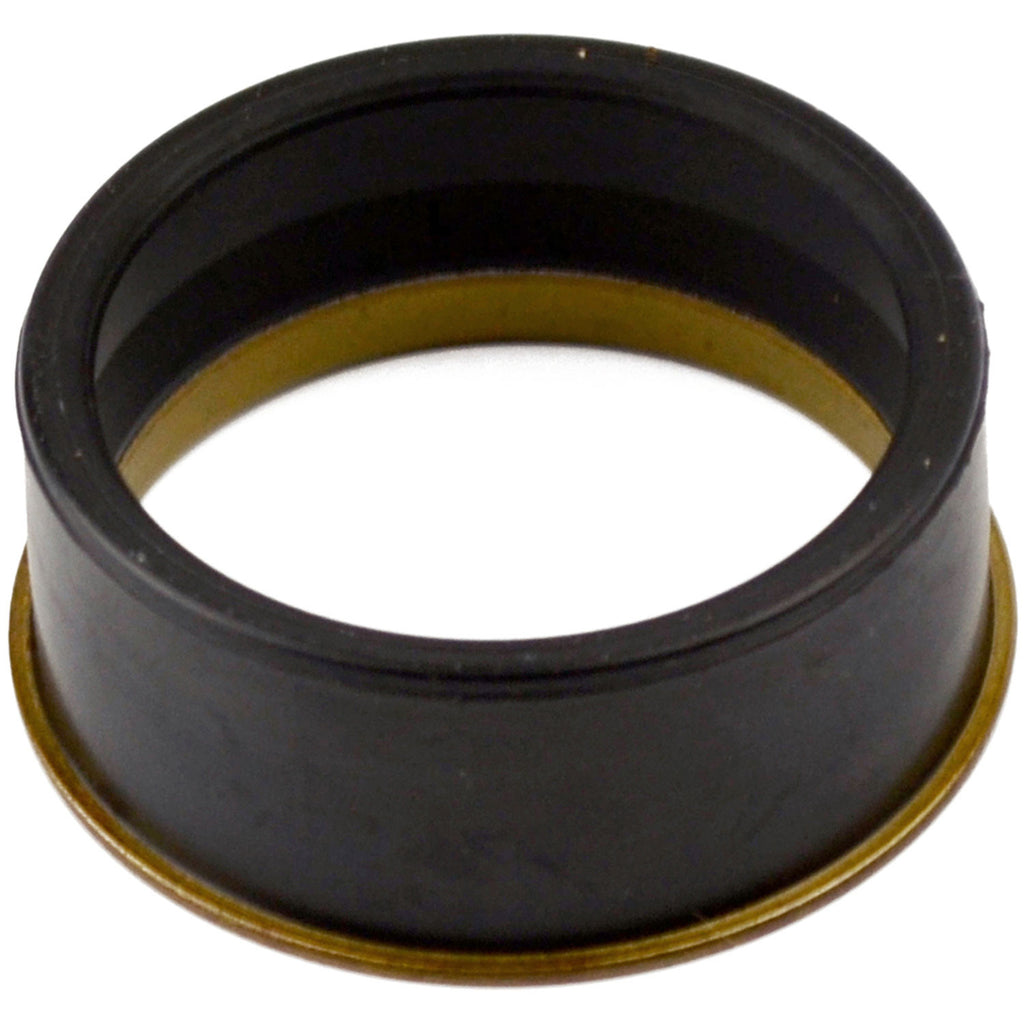
Spicer 2-86-418 Double Cardan CV Ball Seal
$8.08
Driveshaft Universal Joint Dust Cap Seal Steel & Rubber seal for CV Ball assemblies. Used on Non Greasable Double Cardan 1310, 1330 & 1350 Joints This is a genuine Spicer built driveshaft component. Spicer parts provide the enhanced performance and extended durability that you expect from the leader in the drivetrain industry. Materi...
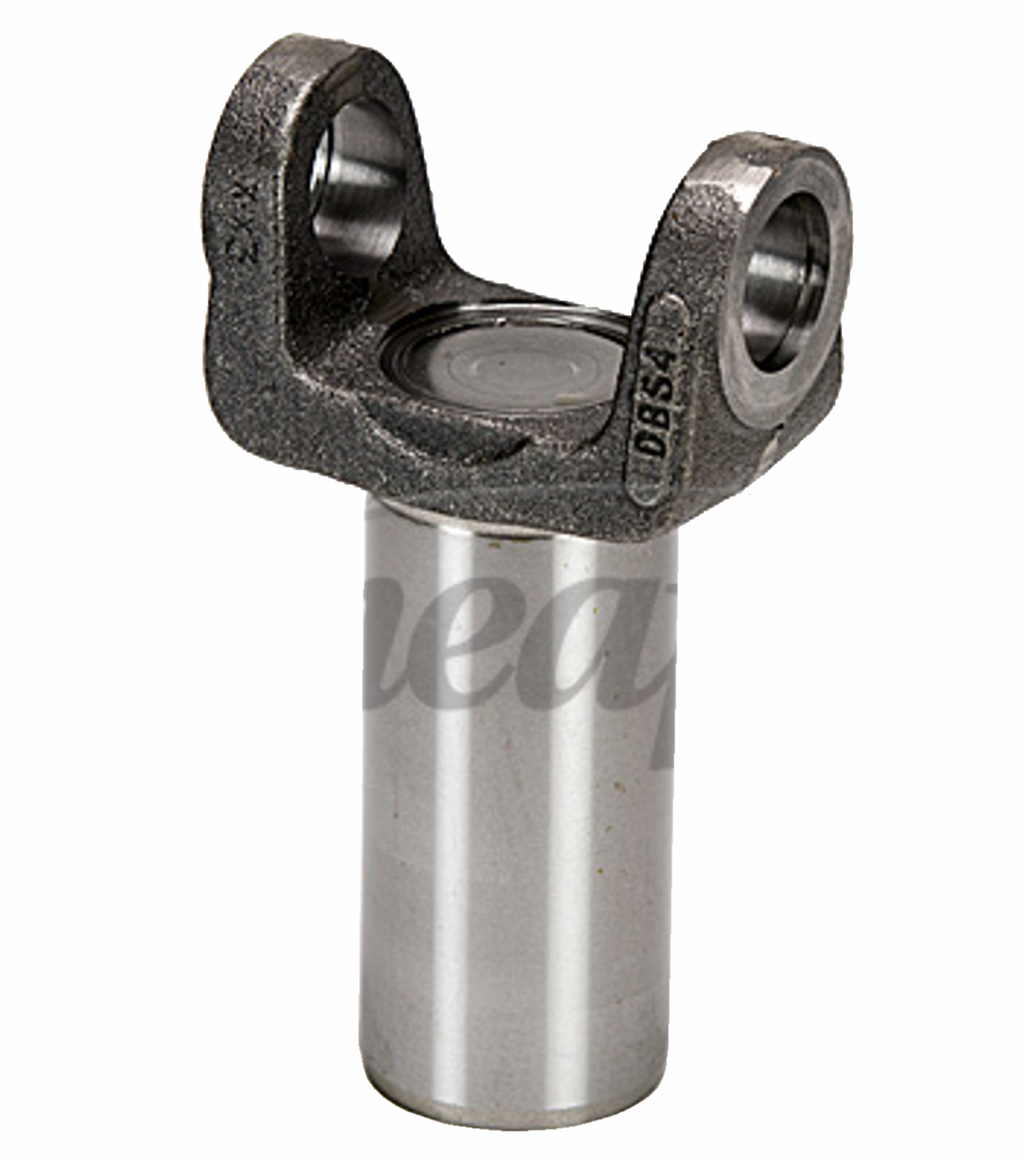
PTI 2603-26 Trans Slip Yoke

PTI 2603-26 Trans Slip Yoke
$61.88
PTI Drive Shaft Transmission Slip Yoke Product Specs Description Diagrams Transmission & Transfer Case Applications: Fits various Chrysler, Dodge, and GM Vehicles with 26 spline output shafts including the: 904 & AX15. U-Joint Series: 7260 Style: Inside Snap Ring U-Joint Cap Diameter (A): 1.078 Inch Distance Be...

Neapco N2-3-10431X Trans Slip Yoke
$121.52
Neapco Drive Shaft Transmission Slip Yoke Neapco N2-3-10431X transmission yoke has an ideal barrel length for OEM replacement, restorations, or performance shafts. Longer yokes than N2-3-10431X may fit as well but check your application to verify. This yoke is not a suitable barrel length for transfer cases. This yoke has splines that are coun...
Spicer 5-1310X U-Joint

Spicer 5-1310X U-Joint
$20.88
Spicer Drive Shaft Universal Joint 5-1310X Spicer U-Joint fits 1310 Series Applications. Non-Greaseable, outside snap ring U-Joint. Cold-forged from high-quality steel, Spicer Life Series® (SPL®) universal joints deliver the strength and durability that today’s performance vehicles demand. Non-greaseable u-joint (pre-lubricated for the life o...

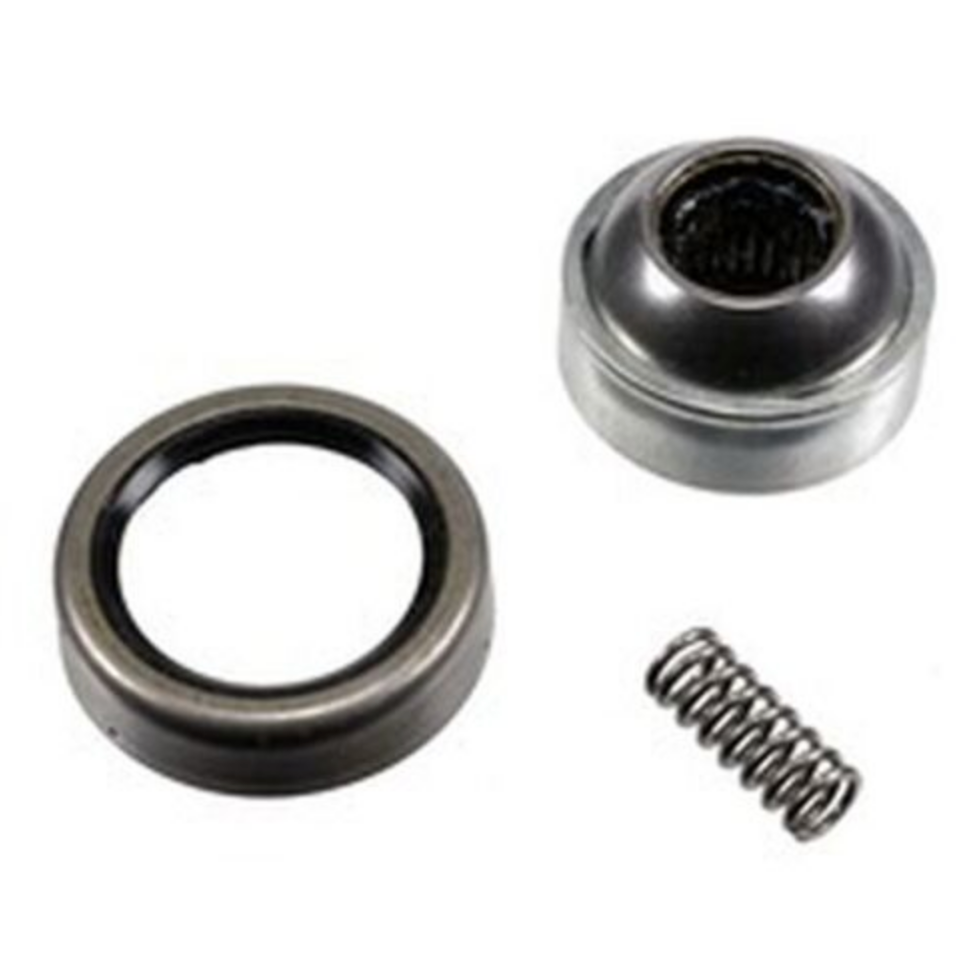
Rockford 404-0 CV Center Repair Kit
$26.27
Spicer Style CV Center Repair Kit. Includes ball/race assembly, seal and spring. The centering socket and ball are critical to proper function of the CV head assembly. When the socket and ball wear out (due to lack of lubrication) it will cause vibration and rough operation. This leads to serious damage to the driveshaft. Rockford manufactures t...
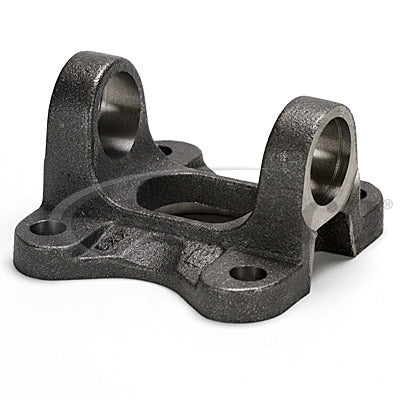

Neapco N3-2-1579F Flange Yoke
$60.68
Driveshaft Flange Yoke Specifications Bolt Circle: 4.250 Inch Series: 1350 U-Joint Lock Up: 3.625 Inch Bearing Cap Diameter: 1.188 Inch Flange Face to Centerline: 1.62 Inch Hole / Thread Size: 0.500 Inch Joint Angle: 20.0 Degrees Number of Bolt Holes: 4 Pilot Diameter: 2.00 Inch Fem...
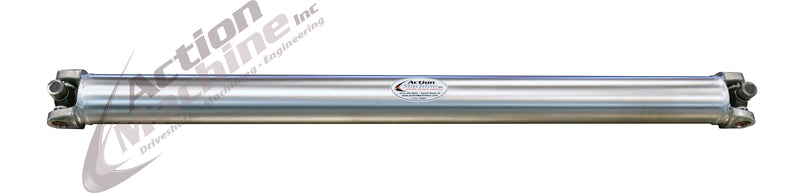
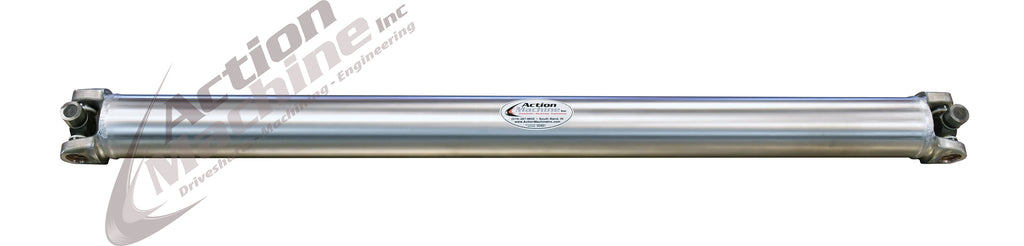
Custom Driveshaft - Aluminum, 3.5" OD, 1350 Series
$625.43
Custom Driveshaft - Aluminum, 3.5 Inch OD, 1350 Series FREE GROUND SHIPPING INSIDE THE USA(This product does not qualify for international shipping) Weld Yoke Material: Aluminum 6061-T6 Forged Yoke Tube Material: 0.125 Inch Wall 6061-T6 Seamless Tube Outside Diameter: 3.5 Inch Outside Diameter (Measuring Guide - Tube OD) U-Joint: Spic...

Neapco 2-1435 U-Joint
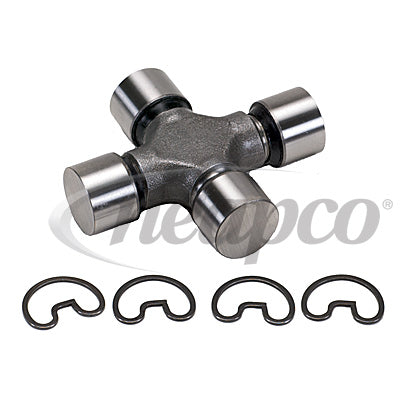
Neapco 2-1435 U-Joint
$39.88
Drive Shaft Universal Joint - Conversion Joint Neapco u-joint fits applications with 1350 Series on two caps and 1410 on the other 2 caps. Notes Specs Diagrams Neapco Universal Joint, Conversion Joint 1350 to 1410 Cross 1 Cross 2 Series Conversion: 1350 1410 Type: Outside Snap Ring (OSR) Outside Snap Ring (OSR) Beari...

AAM 40021420 Trans Slip Yoke
AAM 40021420 Trans Slip Yoke
$129.83
AAM Drive Shaft Transmission Slip Yoke Slip Yoke for GM vehicles with 1350/1355 Series U-Joints, 32 spline and matching measurement specs. Product Specs Description Diagrams Transmission and Transfer Case Applications: Fits various GM and Ford long tail transfer cases with 32 spline output shafts. Transfer cases: BW4440, BW4467,...